Artful Academia
The musings of a landscape painter, art teacher, and art history lover
Here is a fun project that is perfect for Halloween! It works for kids of all ages, and you can make an amazing work of art that is far beyond what you thought possible.
This is a fun Zentantgle art project that I do every year with my middle school students. However, it works great with all ages, including adults. If you are looking for a fun Fall art project or a Halloween art project, this will be perfect for you. You can make the animals as creepy as you want and leave it black and white or add color. Inspired by zentangle designs, this project explores pattern, texture and form.
Supplies: Pencil, scissors, drawing paper, black construction paper, fine tip Sharpie markers, glue stick, animal printout, ruler.
Directions For Animal Zentangle
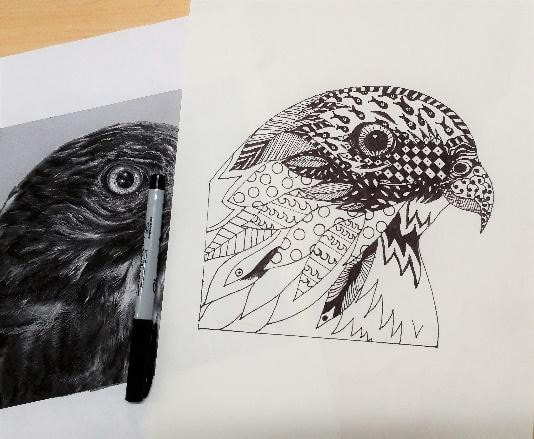
1. Select Animal Printout: Find a large photograph of an animal. You can find it online or in a magazine, or just go photograph your cat. Then print your photograph in black and white on regular copy paper. Try to make sure the animal fills the page, in order to give you plenty of room for your patterns. 2. Graphite Transfer: Shade the back of your printout using a graphite pencil. Then place the printout (face up) on top of your drawing paper and trace the image. This will transfer the graphite to your drawing effectively duplicating the image, (See the slideshow above). 3. Stylize Image: Now you need to stylize the image by adding in closed shapes that can later be filled with patterns. These shapes should work with the form of the animal, but they can also be random. 4. Ink Over Your Pencil Outline: Now use a Sharpie pen to carefully ink over the pencil lines and shapes. Once the ink is dry, you should erase any remaining pencil marks in order to have a clean looking image. 5. Doodle in designs: Now begin to add patterns and textures using a Sharpie. Do not use pencil for this part. You can plan out and practice your designs on a separate sheet of paper. I also recommend printing out examples of patterns and textures for students and having handouts available. Here is a link to Pinterest's Hand drawn Patterns page. Caution: Work slow on your animal Zentangle and use a ruler or circle template as needed. Be precise and neat. 6. Mistakes oh no! Mistakes happen, but try not to start over. You can turn a poor design into an effective one by adding additional lines and details. You can also use white-out to make corrections or paste additional drawing paper over the offending area. Also, remember that small mistakes will be absorbed and lost as the drawing fills in. People will focus on the good areas, not the mistakes. Keep going and stay positive! 7. Finished! Cut out the picture and past it neatly onto a sheet of black construction paper. Make sure that all of the edges are neatly glued down. Use a white colored pencil to sign your name at the bottom.
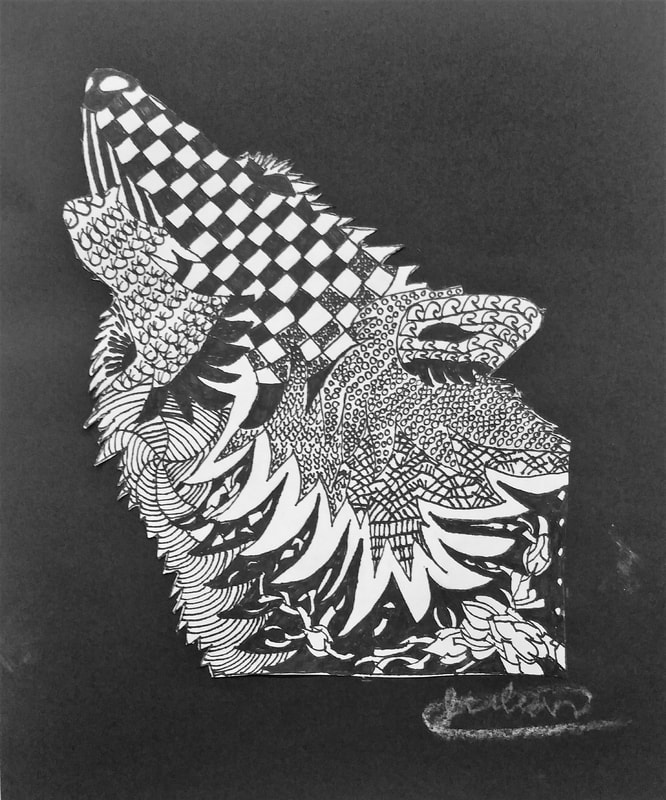
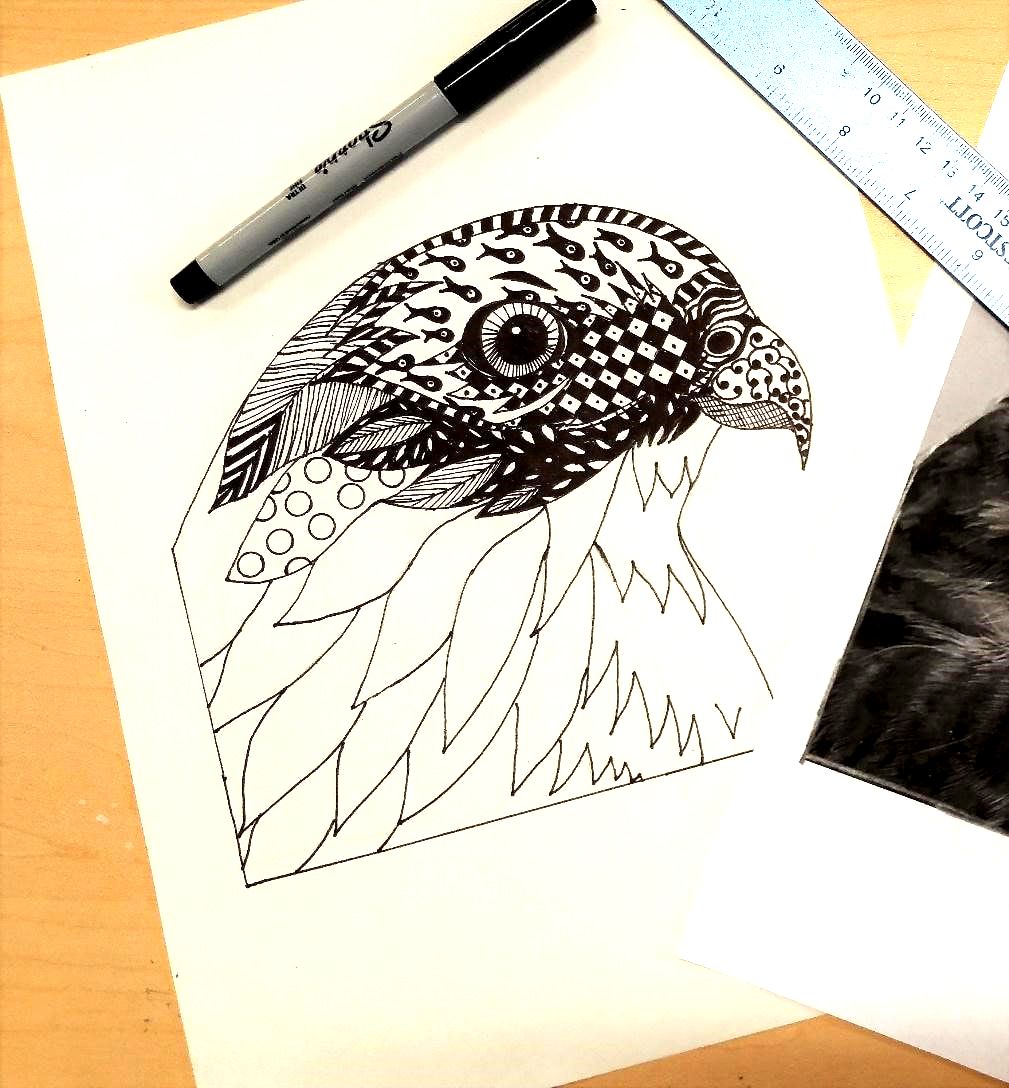
Examples of Animal Zentangle Art
2 Comments
6/6/2020 12:34:00 am
Thank you for sharing. Very Nice Design 3/14/2023 12:09:47 am
I thank you for providing this valuable blog. The blog is extremely fascinating. Your comment will be posted after it is approved.
Leave a Reply. |

Bruce and Marla at Garth Brooks Concert!
Author: Bruce BlackWelcome to Artful Academia: Categories
All
Archives
May 2024
|


 RSS Feed