
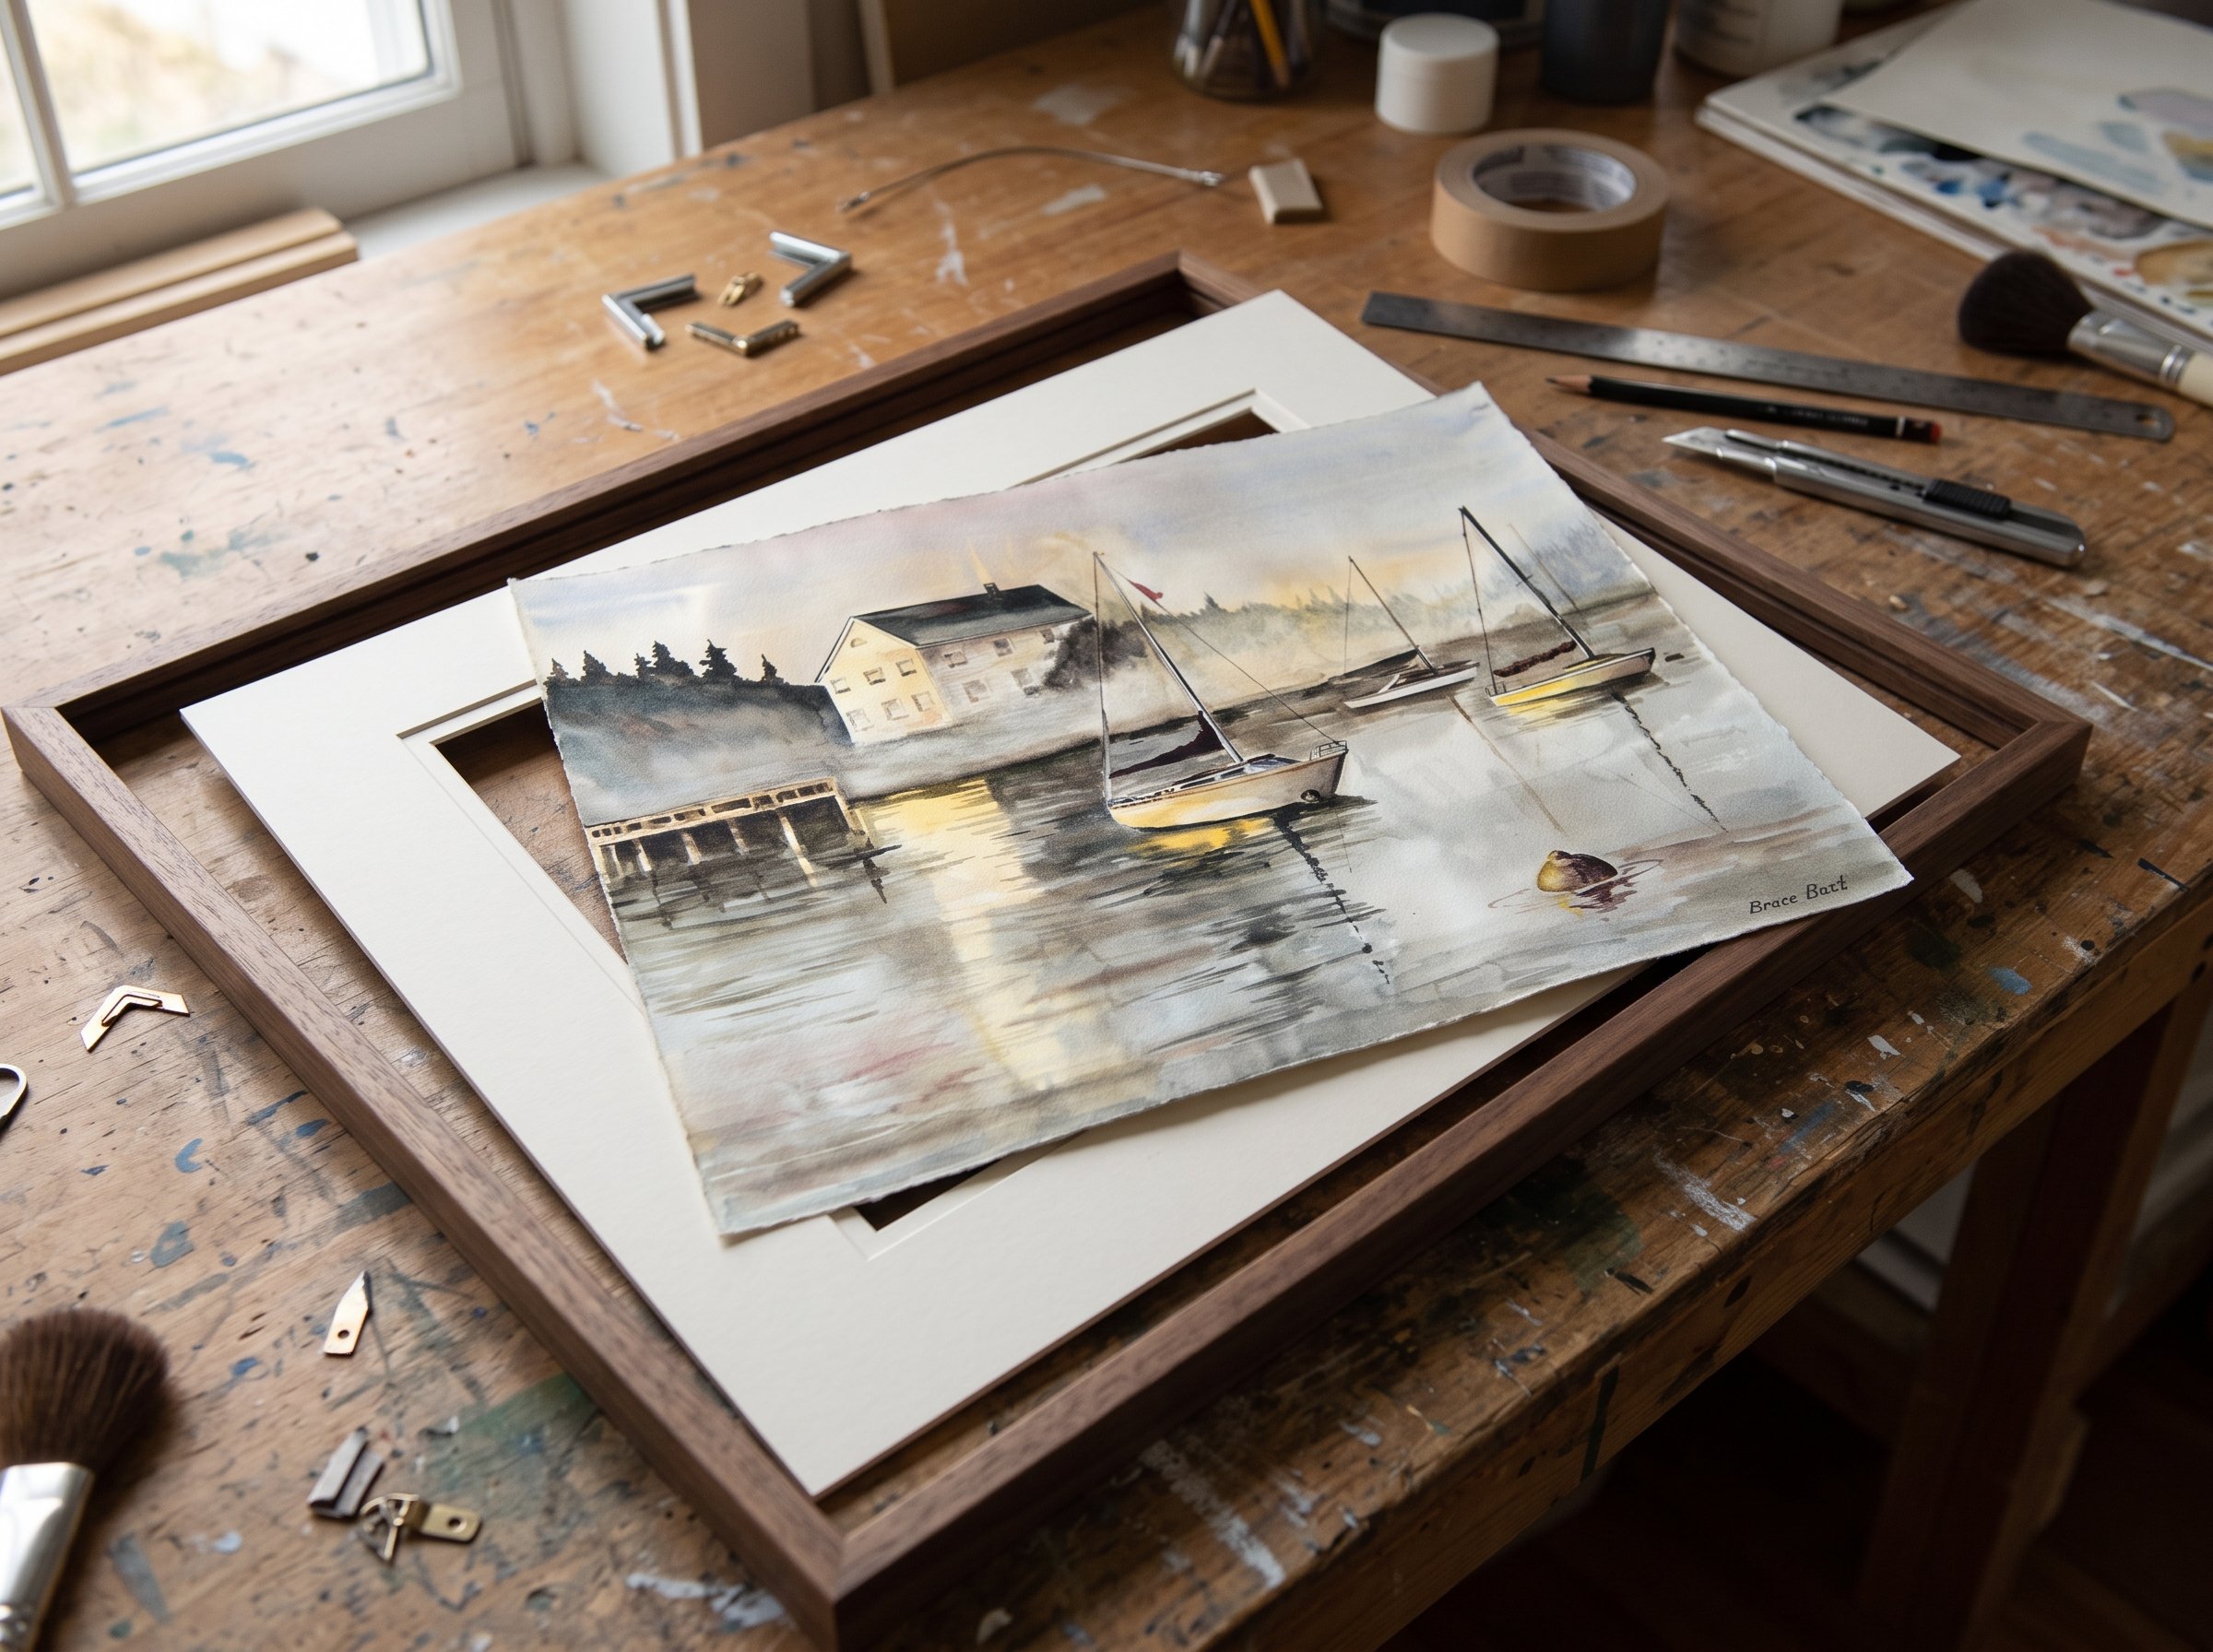
Boats in the Harbor, watercolor on paper, Bruce black
There is a specific magic to watercolor that no other medium possesses. When I paint an original Arizona desert landscape watercolor, the white of the archival paper literally acts as a light source, reflecting back up through the translucent pigments to create a brilliant, luminous glow.
However, because the pigment sits delicately on the surface of the paper rather than being bound in heavy oils, watercolors require a specific, thoughtful approach to framing and display. Over my 30 years of painting and teaching art, I have found that the right frame does more than just protect a piece—it elevates it. Whether you are bringing home a vibrant Sonoran Desert scene or traditional Pacific coast beach watercolor art, here is an expert guide to framing, lighting, and preserving your investment for generations.
1. The Magic of Matting: Window vs. Float
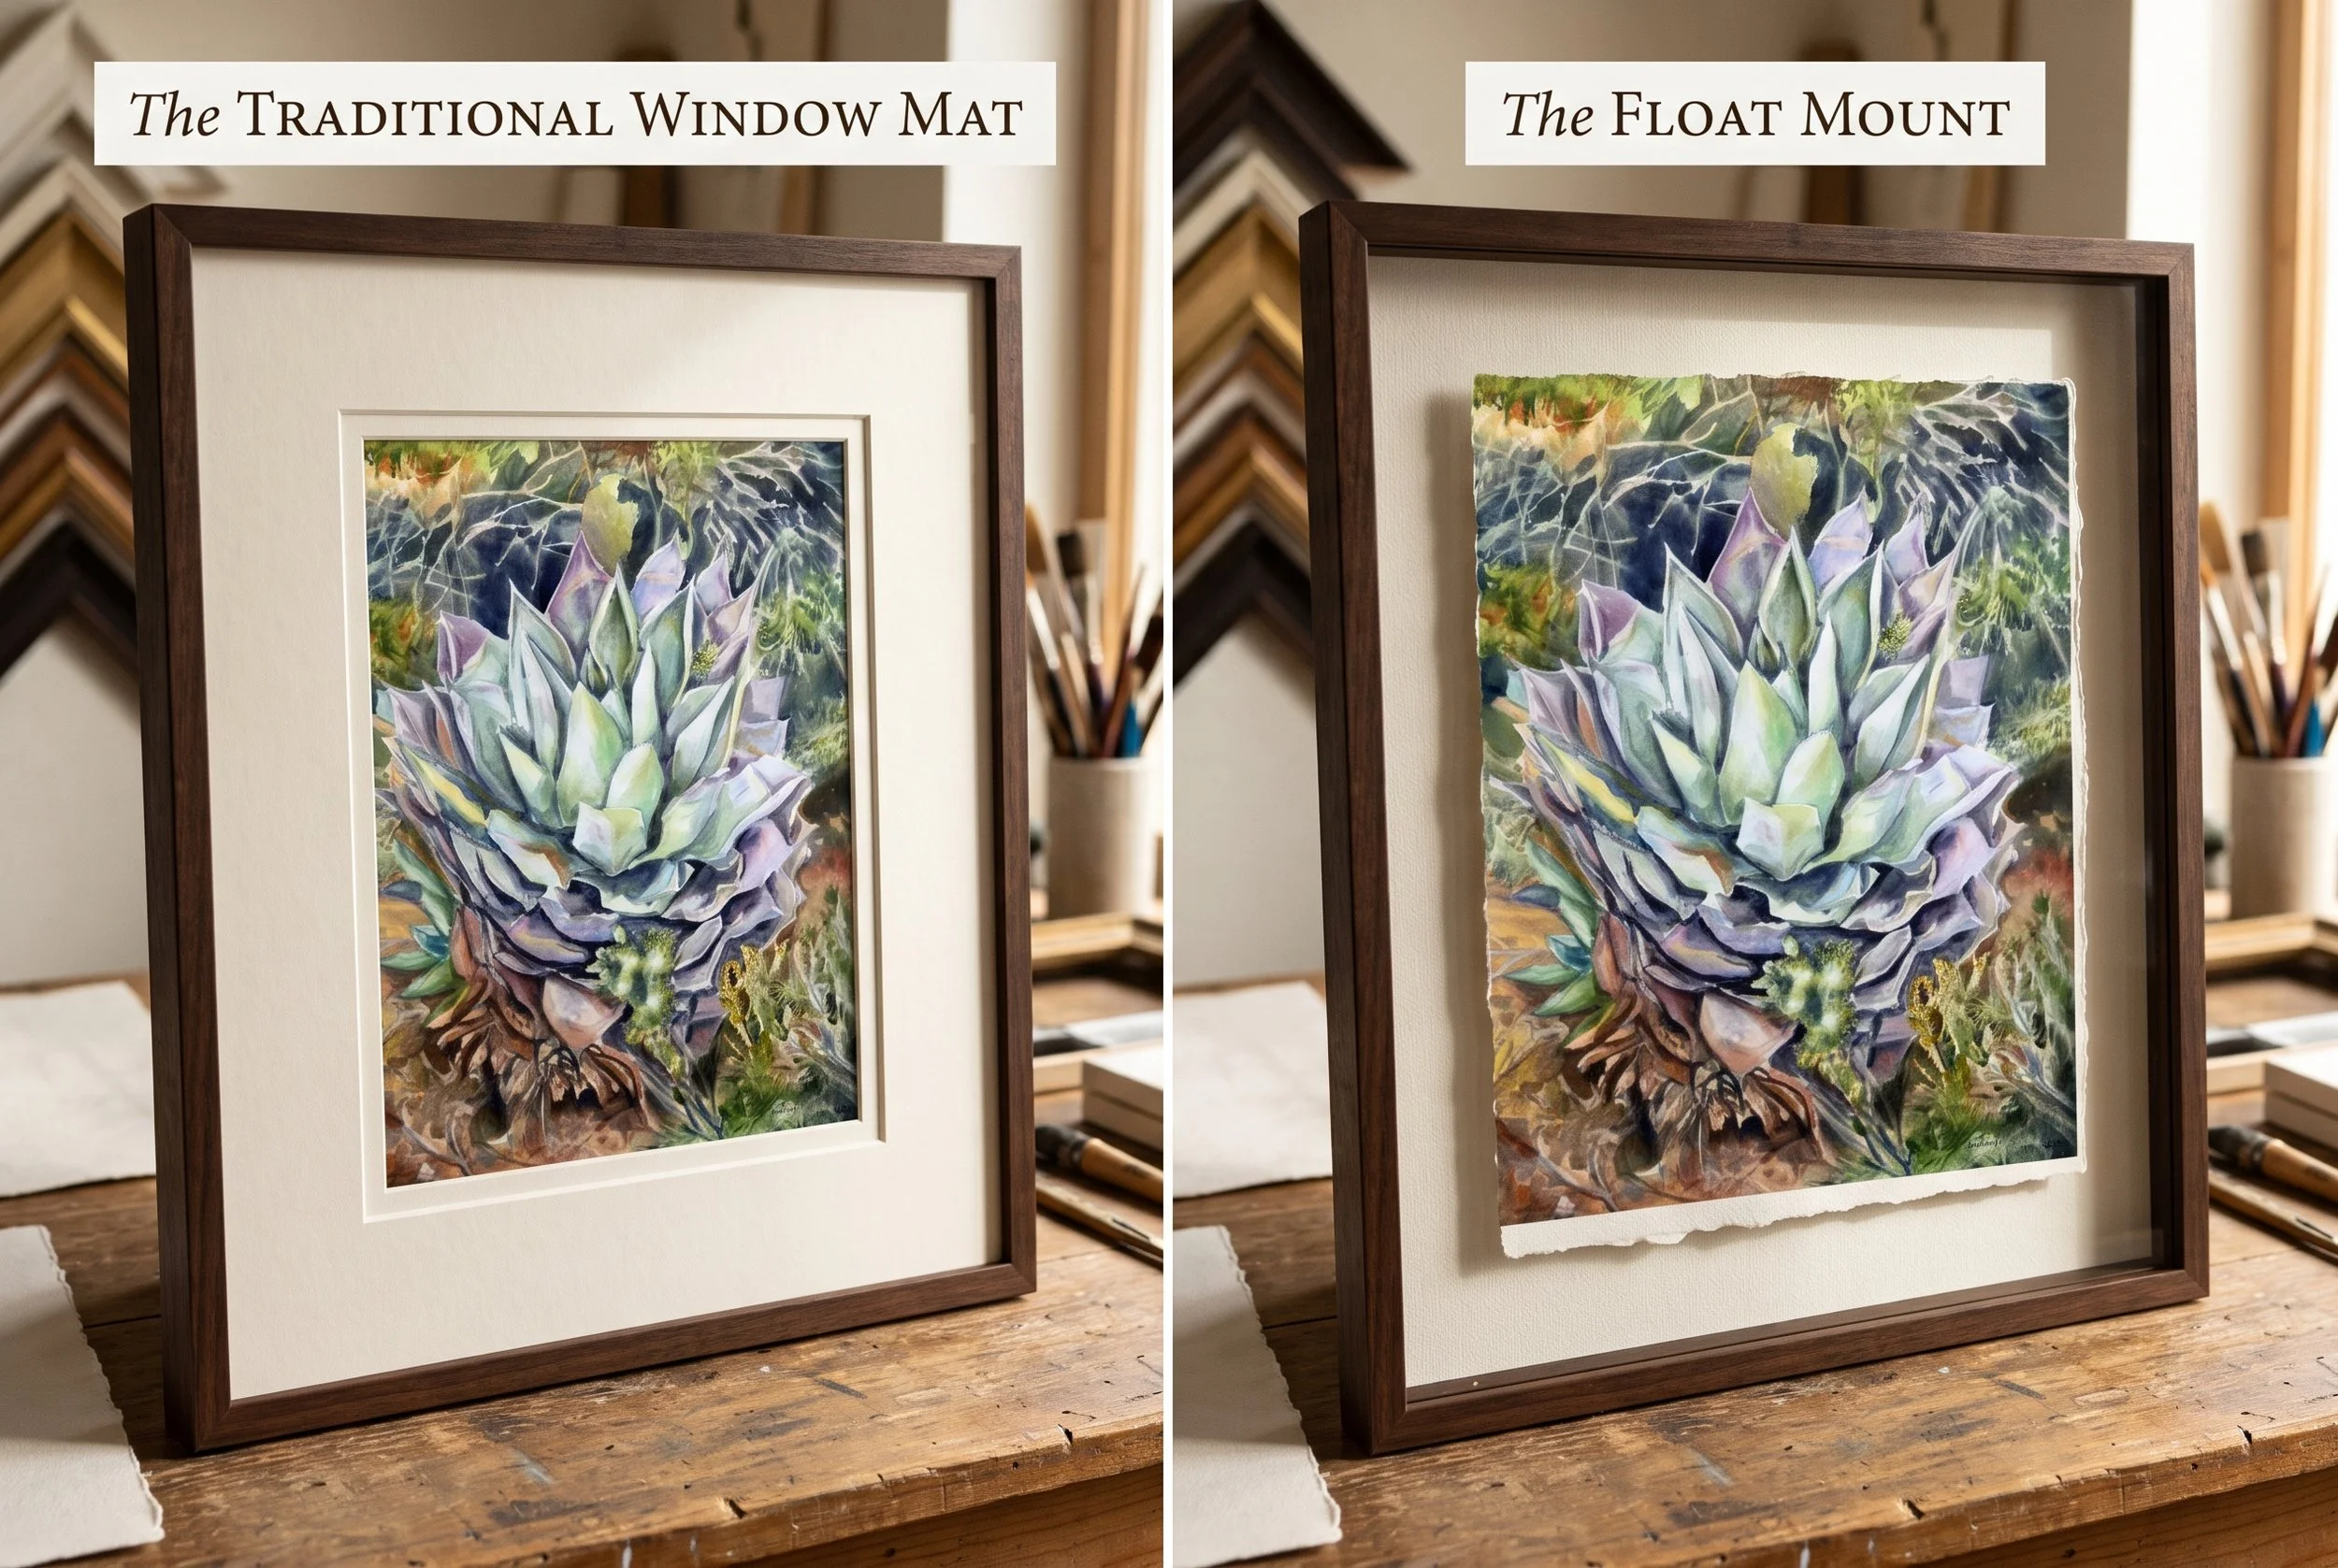
The golden rule of framing a watercolor is that the glass must never touch the artwork. If the paper touches the glass, changes in humidity can cause condensation, which will stick to the paint and ruin the piece.
You have two beautiful options to create this necessary air gap:
Agave, watercolor on paper, Bruce Black
The Traditional Window Mat: This is the classic approach. A mat is cut with a beveled window that overlaps the edges of the painting. Crucial detail: You must ask your framer for 100% Cotton Rag or Museum Board. Standard paper mats contain acids (lignin) that will burn and yellow the edges of your painting over the years.
The Float Mount: For a highly contemporary, gallery-tier look, ask your framer to "float" the painting. The artwork is mounted entirely on top of an acid-free backing board, exposing the beautiful, raw edges of the watercolor paper. Spacers are then hidden inside the edge of the frame to keep the glass lifted away from the art.
2. Glazing Options: Glass vs. Acrylic
Not all glass is created equal. Because ultraviolet light is the natural enemy of watercolor pigment, choosing the right "glazing" (the clear covering) is the most important investment you will make.
Conservation Clear Glass: This is your excellent baseline. It blocks 99% of UV rays, preventing the rich blues and earthy reds of a landscape from fading over time.
Museum Glass: The ultimate choice for collectors. It blocks 99% of UV light, but is also treated with an anti-reflective coating. It is so crystal clear that it often looks like there is no glass there at all, allowing the texture of the watercolor paper to shine through perfectly.
3. Mastering the Light Levels
Where you hang your watercolor matters just as much as how you frame it.
Natural Light: Never hang a watercolor on a wall that receives direct, sustained sunlight. Choose a wall with bright, indirect ambient light.
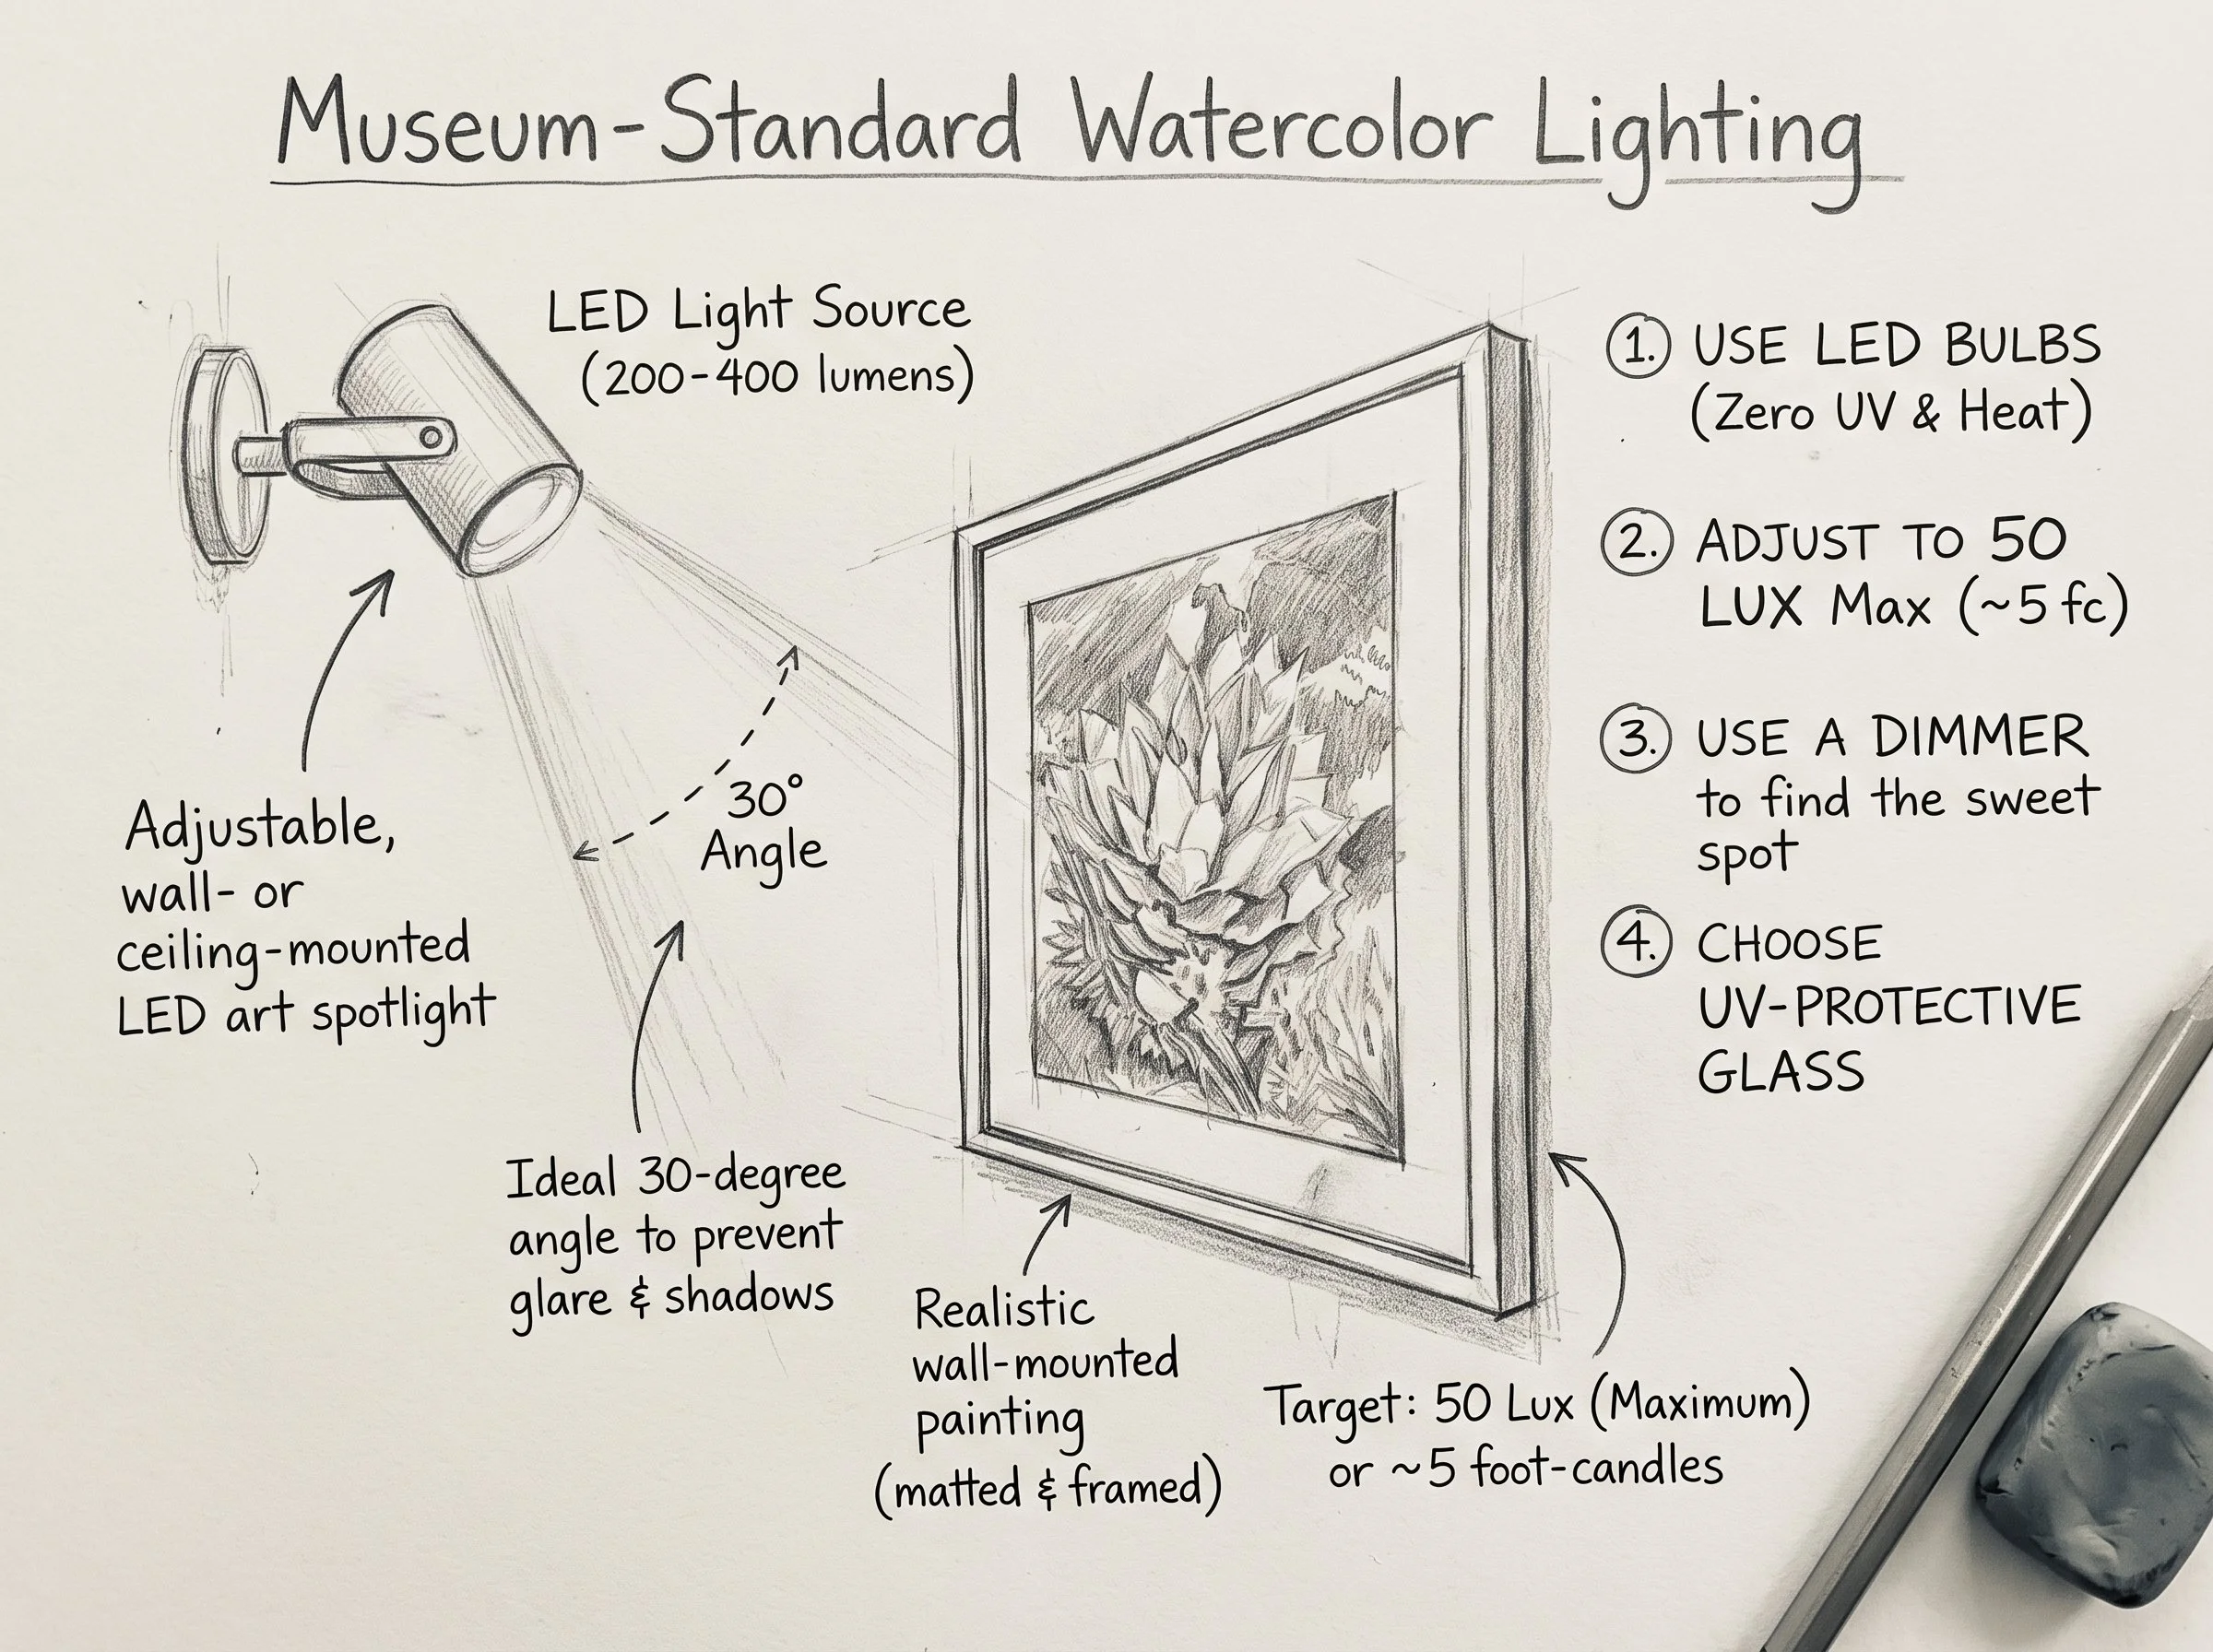
Art Lighting: If you want to illuminate your painting with a picture light, always use LED bulbs. Older incandescent or halogen bulbs emit UV rays and intense heat, which can literally bake the paper. LEDs emit zero UV light and run completely cool.
Museum conservation standards dictate that watercolors should be illuminated at a maximum of 50 lux (approximately 5 foot-candles) directly on the surface of the artwork. Museums measure light using lux or foot-candles rather than lumens because lumens measure the total amount of light a bulb produces, while lux measures the actual intensity of light hitting the fragile paper.
Bulb Output: A low-output LED bulb emitting around 200 to 400 lumens is usually sufficient for a home picture light or track lighting.
Dimmers are Essential: Because the distance between the fixture and the painting changes the lux dramatically, using a dimmable LED fixture allows the collector to dial down the brightness to that gentle, 50-lux glow.
UV Filtration: The light source must emit zero ultraviolet (UV) light. Standard modern LEDs naturally emit little to no UV, making them the safest choice to pair with UV-filtering museum glass.
Rest Periods: Museums strictly limit how many hours a year a watercolor is exposed to light (often capping it around 3,000 hours per year at 50 lux). For a home collector, this simply means turning off the art lighting when the room is not in use.
4. The DIY Approach: Framing It Yourself
Because I paint many of my primary watercolors in a standard 16x20 inch format, taking the DIY route is an incredibly rewarding option for collectors. You can easily purchase a high-quality, pre-cut archival mat from an art supply store to fit the painting.
Personally, my favorite local resource is Jerry’s Artarama. When I frame pieces for exhibitions, I often use their beautiful plein air frames to complement my traditional landscapes. My studio workflow involves buying uncut museum matboard and sizing it perfectly with a professional mat cutter, then having the store cut a custom piece of glass to fit the exact dimensions of the frame. With standard-sized paintings, collectors can easily replicate this process or simply drop the artwork into a high-quality, ready-made frame.
5. Custom Framing Direct from the Studio
While I list my paintings unframed on the website to give you ultimate design flexibility, I do mat and frame my own work. If you find a landscape that you love and prefer it to arrive at your door completely finished and ready to hang, I am always happy to collaborate with you. We can work together to source the perfect mat and frame for your interior space at a reasonable, transparent price.
If you would like a piece custom framed, simply reach out to me via the Contact page before or after your purchase. Ready to find the perfect piece for your wall?

Bruce Black’s watercolor painting studio in phoenix Arizona
