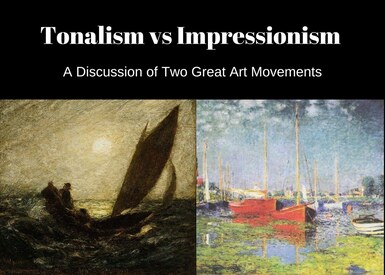
High School & Middle School Art Projects -FREE

|
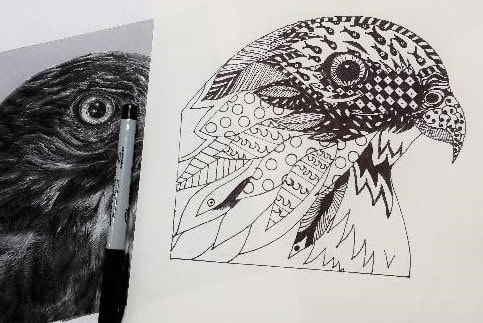
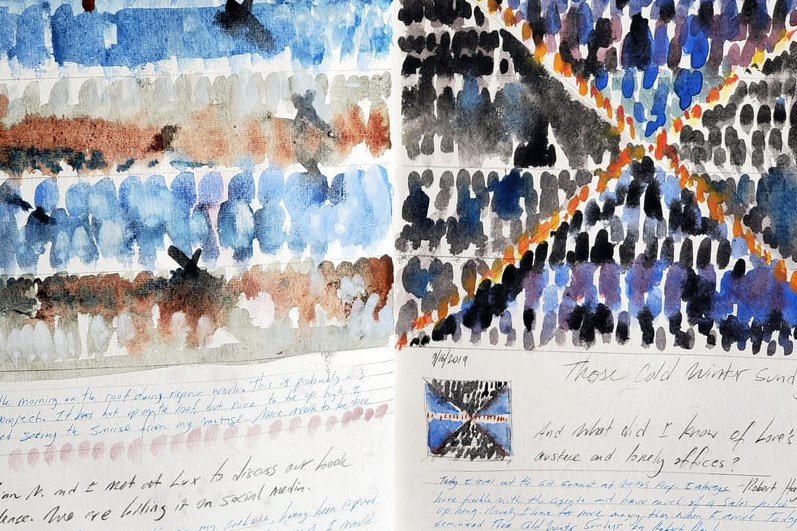
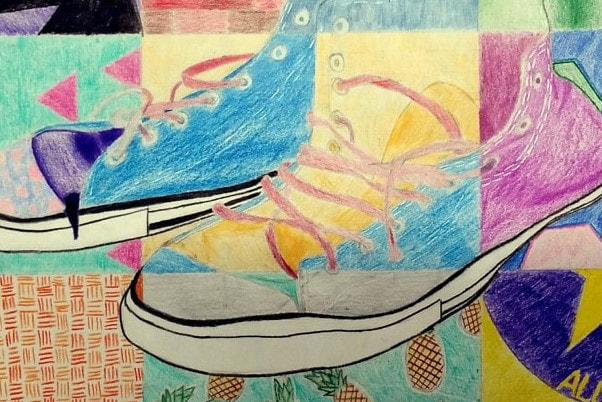
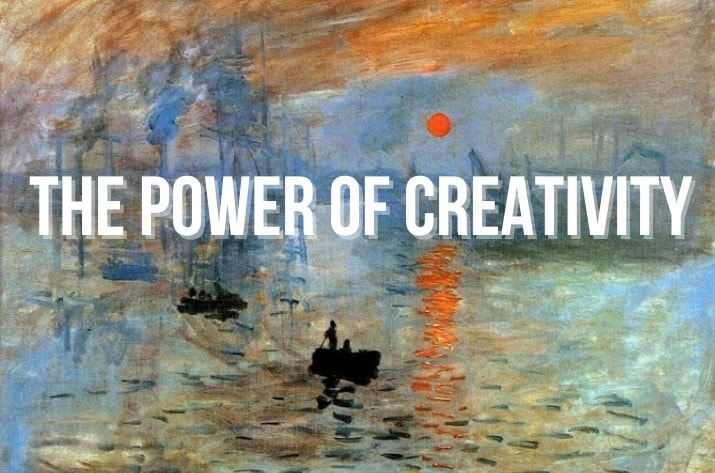
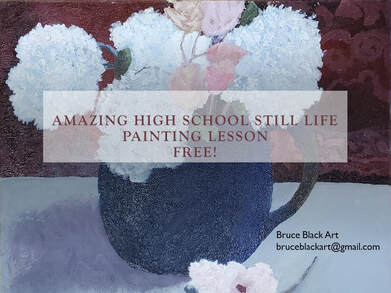
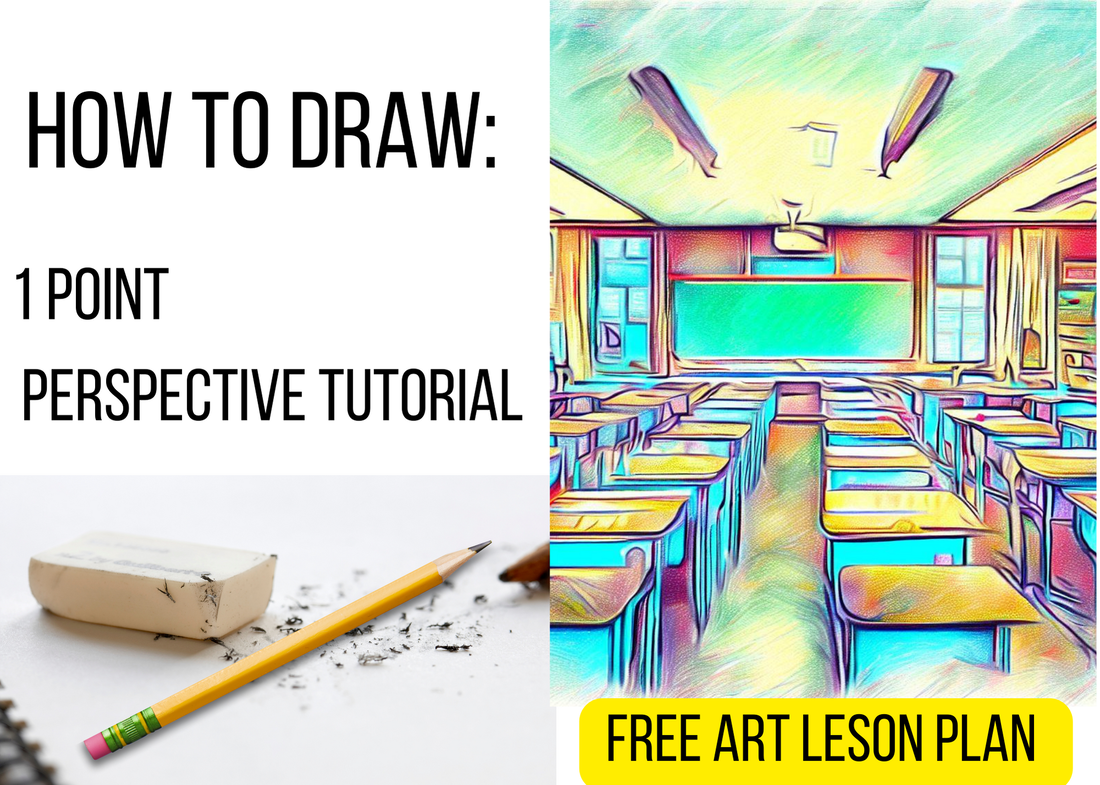
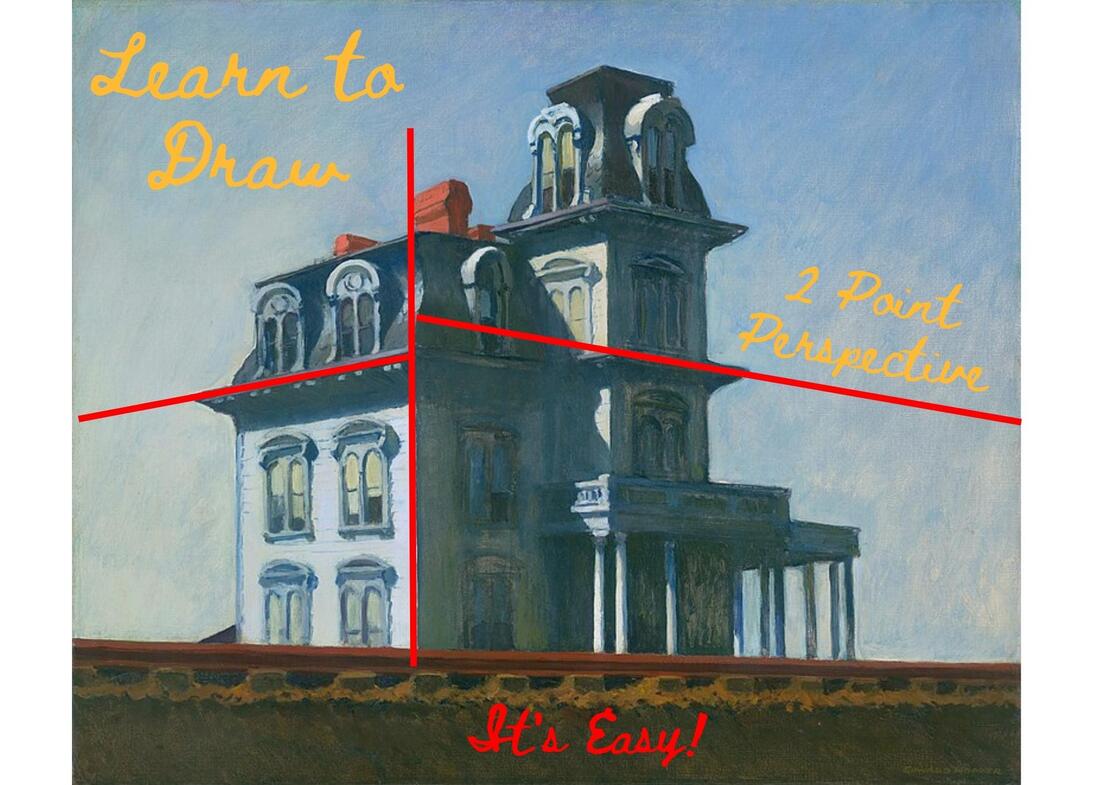
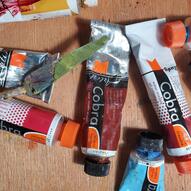
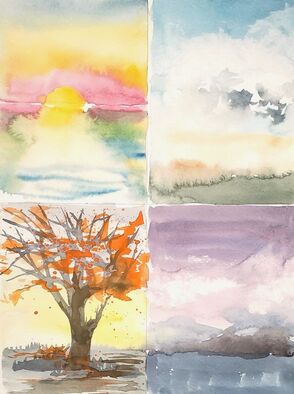
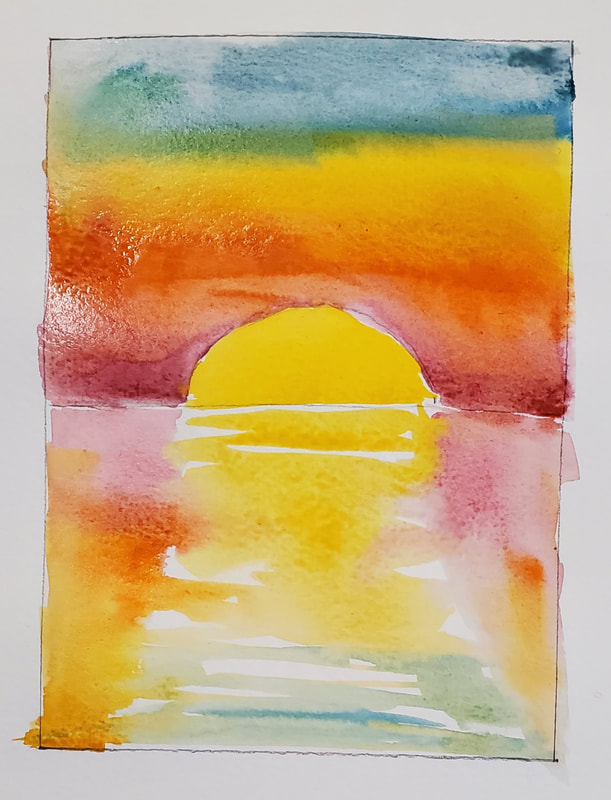
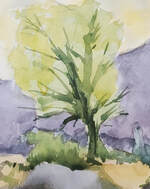
Free! As a veteran high school art teacher, I am constantly developing new lessons and seeking ways to reach my students. I offer some of my best free art lesson plans here. They are meant to be used for art educational purposes and may be downloaded. Please do not publish these lessons as your own. You may use them for instruction or your own learning.
|
Studio Art Lesson Plans: Middle School | High School | Students | Art Teachers